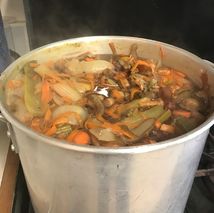
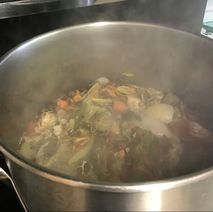
April PreservationsAccording to my chart, this is my catch up month.  Love this lady! Love this lady! I still have some mushrooms to dehydrate and a few jars of beans to cook up, but yesterday I had my wonderful sister-in-law (and my precious 2yr old niece) over to can up the rest of the stocks I needed. We actually ended up canning much more than that! I think we made a total of 49 pints of stock. Now, to all you crazy constant caners, that may not sound like a lot, but considering I’d been using my crock pot and canning 4 at a time, that’s insane! It took us all day, but I’m grateful to be able to share my knowledge with her and spend some serous quality time together. I did say that I would have a step by step on how to make stocks from scratch, so here it is: SCRAP STOCKS: There’s really no limit to which vegetables you put in your stock, but keep in mind that beets can overpower other flavors, and zucchini, greens and brassicas (broccoli, cauliflower, cabbage) turn bitter. What you need:
1) Put all the vegetables, or scraps, you can fit into your crock-pot or pan. 2) Cover your veggies with water and add peppercorn and bay leaves. Approximately 6 peppercorn and 2 bay leaves per 6 cups water.
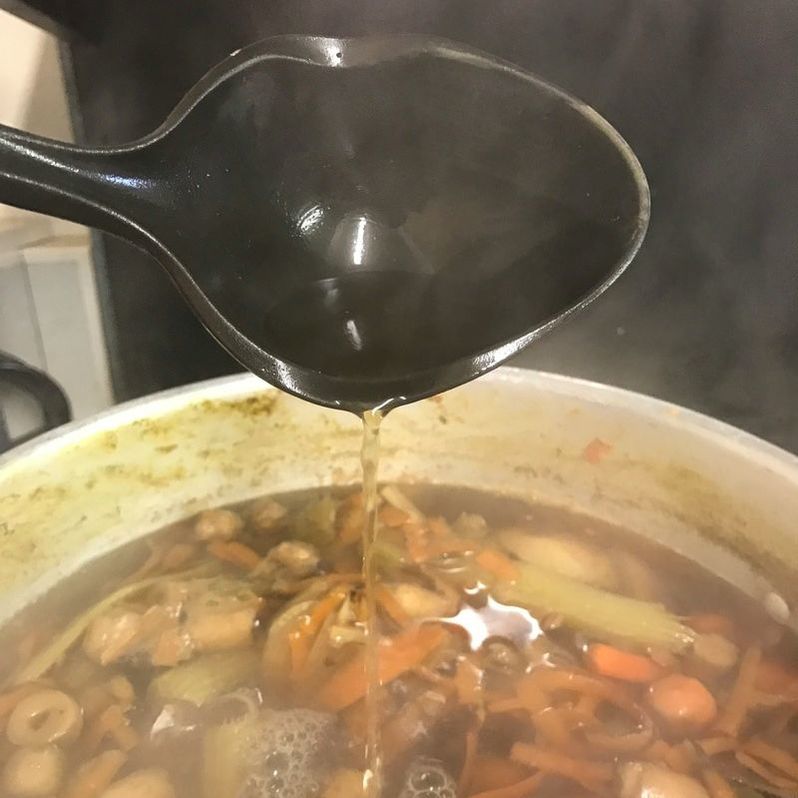
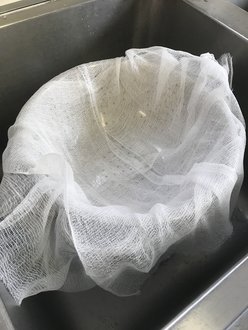
3) Simmer for several hours. I use the crockpot on low, usually overnight. 4) When finished, prepare your jars. I like to use pints, I find more recipes only call for 1-2 cups of stock. If you’ve never done any canning, this means to sterilize the jars, either by boiling them or putting them through the dishwasher. Also, prepare your canner, per manufacturer’s directions and boil your lids and rings in a shallow pan. 5) Strain your stock from the veggies with a cheese cloth and strainer
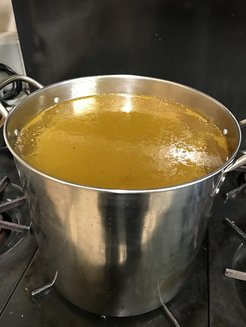
6) Ladle your hot stock into your hot jars, leaving 1” headspace. 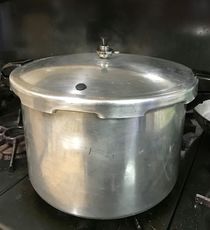 7) Wipe the rims, cover with lids and tighten rings. Process in you canner at *10 lbs pressure, pints-20 mins, quarts-25 mins.* Check your altitude, and pressure canner manual 8) Remove, let cool, label and enjoy! 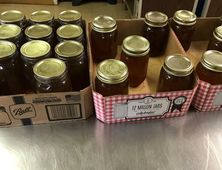 If you have any questions, you can shoot me a message, and I’ll help you any way I Can. Pun intended.
Other resources:
0 Comments
Leave a Reply. |
the clan:Kita , Caveman, Goomba, Gummy Bear and Peanut are native New Englanders, who are working to live more self sufficient and sustainable lifestyle. Archives
June 2020
Categories
All
|
 RSS Feed
Photos used under Creative Commons from this lyre lark, ThoseGuys119, ThoseGuys119, cafecredit, Lee Edwin Coursey, barefootcollege, CIRILOMAN, dcysurfer / Dave Young, Matt From London, Ruth and Dave, zappowbang, joeflintham, CityofStPete, jeffreyw, Steve Slater (used to be Wildlife Encounters), Artistic-touches
